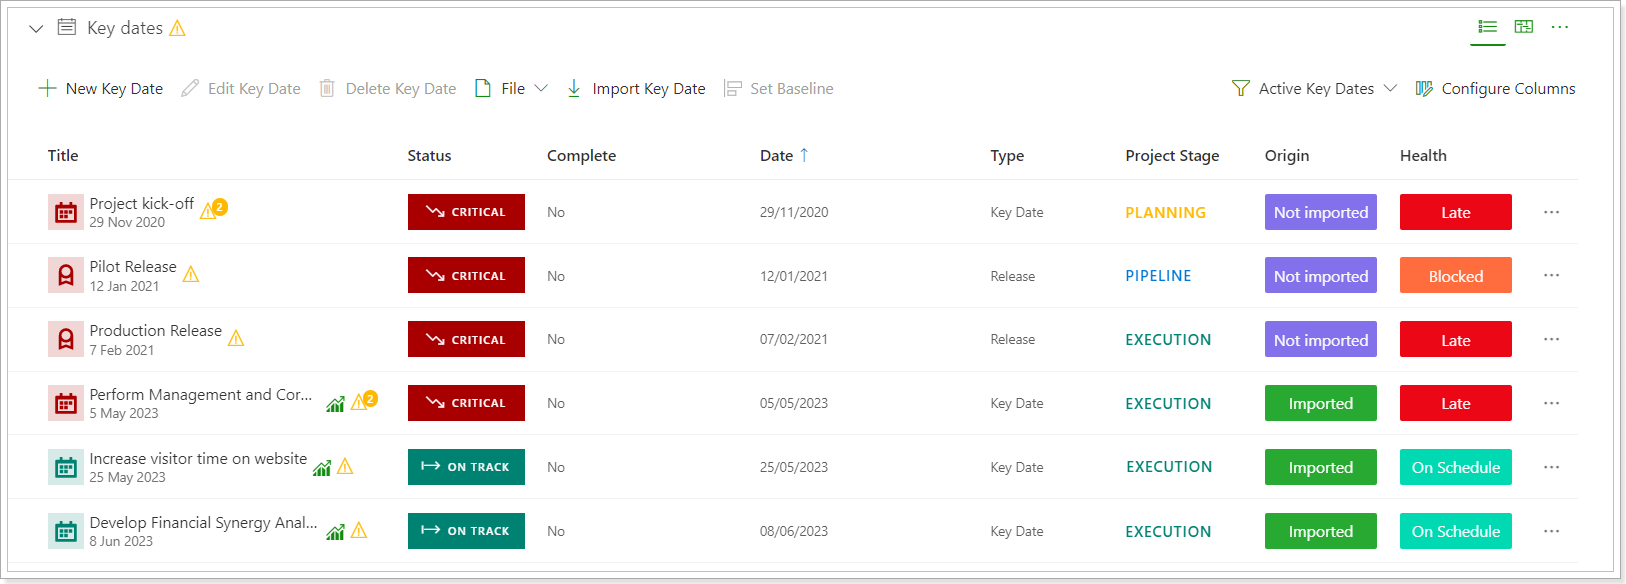
In this article, we will review how to configure Project, Program, Portfolio, Resource, Business Challenges, and Idea dashboard.
We will take the Project dashboard as an example, but the main set of settings is the same for all PPM Express pages.
All sections on the PPM Express dashboards can be opened in full-screen mode for better view and editing.

As for the changes that users make on the PPM Epxress pages, any State (Filter, View, Sub-view, Sorting, etc.) is saved immediately after a user makes a change. The states are saved and applied when the user leaves and re-opens the page, refreshes the page, logs out, and logs in again.
Configuring Project fields and columns
Most of the sections of the Project dashboard can be configured.
Statuses can be customized by opening the Configure menu from the Statuses section, for more details please refer to the "How to customize status categories for Projects/Programs/Portfolios/Tasks/etc" article.
As an example, let's configure the Details section on the Project dashboard but the same rules apply to other PPM Express items and fields.
To set up the Project Fields, navigate to the Details Project section and open the Configure menu using the ellipsis button.

The Configure Fields/Columns menu is presented as a list of small boxes with fields where you can enable/disable the fields displayed in the Details section, rearrange the fields, and create new custom fields. The information for each field (its type, if it is required, custom or system) is available in the field box.
A search option is available to find the field you need quickly.

Also, the fields are organized into two sections: Fields in this View (enabled fields) and Available Fields (which include all custom and system fields).

'Fields in this View' section contains enabled fields. This section includes two columns: Coulmn 1 and Column 2. This helps organize the fields and makes their presentation in the Details section convenient.
All the enabled fields are moved up to the Column 1 by default. You can use drag-and-drop functionality to move fields from Column 1 to Column 2 if needed.

If you add fields to both columns, the Details section will be split into two parts, with each part displaying the fields from its respective column. This functionality is also available in the Decision Matrix section. For all other sections, the 'Fields in this View' is presented as a list of the selected fields without columns.

'Available Fields' section contains disabled fields, organized in groups by topics.
There are multiple groups for the Details and Decision Matrix sections. Also, you can enable any field from the 'Available Fields', and it will be added to Column 1.
All other sections include only the System fields and Custom fields groups for the 'Available fields'. If the field is enabled, it will be added directly to the 'Fields in this View' list.

Each field can be edited if required. To edit the field, navigate to this field and click on the pencil-like button.

When the field is opened for editing, you can decide if the field is required or not (some system fields are required/not required by default and cannot be changed), populate the description for the field, etc.

If the field is disabled, it will be added to the group to which it belongs in the 'Available Fields' section.
You can add your custom fields to the Project sections. To add a custom field, scroll to the bottom of the Configure Fields window and select the New Field option.
When a new field is created, it is enabled by default, added to Column 1, and marked as New, making it easy to find.

If the custom field is disabled, it appears in the 'Available Fields' section -> Custom fields.

Custom fields can be deleted by clicking on the corresponding button next to it. The default fields can not be deleted.
Users can add colors to the PPM Express system and custom fields of the 'Select' type.
The colored fields will also appear on the timeline tooltips and table views of items.

Creating and applying layouts
PPM Express provides the ability to create and later apply a layout of the Project dashboard.

When creating a new layout or editing existing ones, it is possible to show or hide a specific section from the Project dashboard and change its position by dragging and dropping.
You can also edit the name of each section, and populate the description by clicking on the pencil-like button next to it.

The sections can be expanded or hidden on the Portfolio dashboard. This setting is also available if you open the section for editing and can be saved to the layout and applied to other Projects. For more details, please refer to the 'How to create and save layouts' article.

As you add the required sections to the Project dashboard, they will appear in the left corner at once. You can switch between the sections using the section menu on the left to make the navigation faster.

When you are ready to configure Project dashboard sections by hiding existing sections or adding new ones, you can add the required fields (columns) to these sections. These changes will be saved automatically for the opened layout.
The default layout will be later applied to the Project dashboard of all newly created Projects on your PPM Express tenant. Other layouts can be applied per Project as required or can be applied to a number of Projects at one go using the 'Bulk Edit' option that is available from the Projects page => table view.
For more details, please refer to the 'How to create and save layouts' article.
